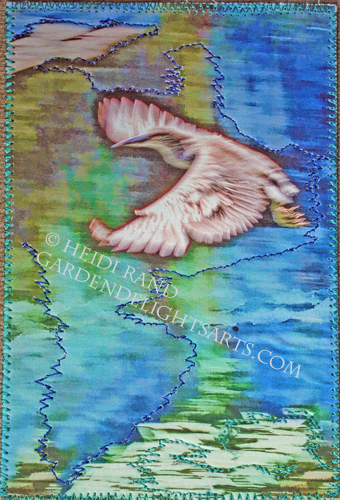
Wood hyacinth fabric postcard
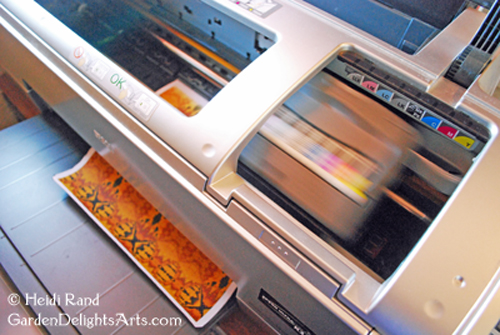
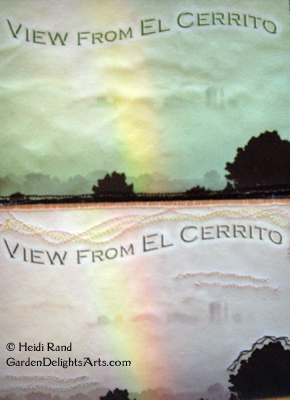
Dye ink prints: colors fade and shift

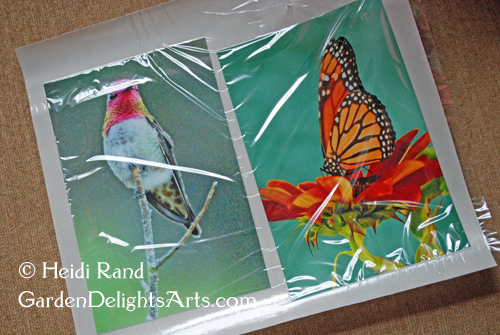
Untreated vs pre-treated fabric
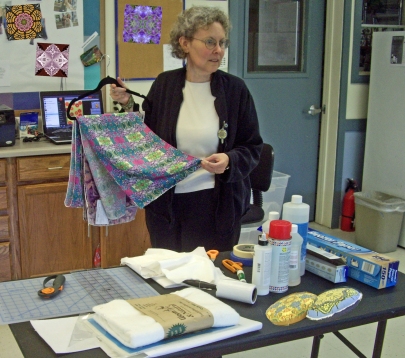
Pre-treated fabrics are backed with paper or plastic to stiffen them so they’ll go through your printer without crumpling up and jamming your printer. You want the fabric sheet as flat as you can get it so the edges don’t catch as the printer heads go back and forth, which can make the fabric shift or leave ink on the edges.
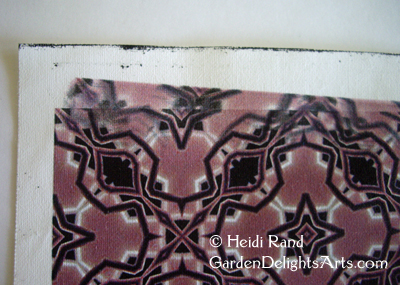
There are a lot of different ways to flatten fabric — some tips: try curling it the other way by hand, flattening the sheet under a stack of books, or ironing it.
With so many pre-treated products to choose from it’d get expensive fast to sample them all to find the ones that work best for you. I advise starting out with a few that let you buy small quantities so you can test and compare. I’ve tried most of them, and my favorites for printing with pigment inks are Cotton Satin and Cotton Lawn by EQ Printables. The fabric feels wonderful and the quality of the print is great. In my opinion the plain EQ Printables (the package says only “Inkjet Fabric Sheets”) is not worth the money, so make sure the packages are either the Cotton Satin or Cotton Lawn. I also like June Tailor’s Colorfast Sew-in Inkjet Fabric. It’s stiffer than the EQ but the print quality is great and the stiffness can be ideal for certain projects: I use it for some of my fabric postcards and a lot of my home decor creations like fabric vases and bowls, covered light switch plates, etc.
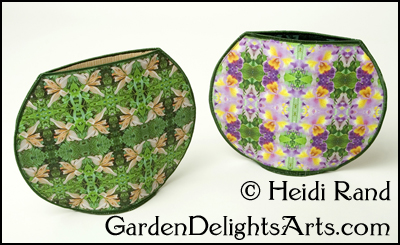
Fabric vases
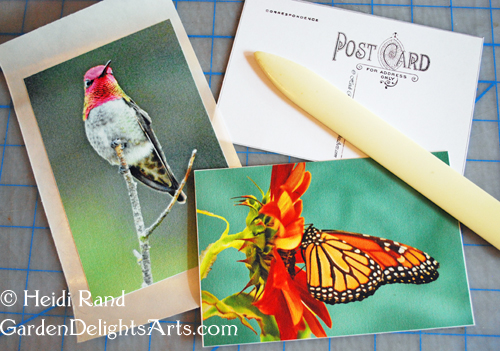
After printing all you have to do is remove the backing from the fabric sheet. If you’re using pigment inks there’s no need to heat set or wash; you can use it right away in your sewing or other art projects. However, even though the fabric will feel dry to the touch, it actually takes quite a while for pigment inks to thoroughly dry. If you don’t need to use the fabric right away you’ll get best results by putting it aside for a week or so.
That’s it for the basics! If you want to learn more this is the link to my blog post about my ebook “Inkjet Printing on Fabric.” My website has a page with links to all of the different options to find my ebook, including the kindle version where you can see a preview of the book.
Or click here to go to my online workshop on CraftArtEdu, which also includes a free preview.
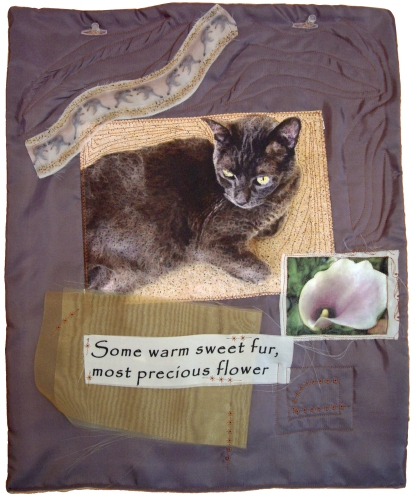
Lars art quilt, made with different kinds of printed fabric