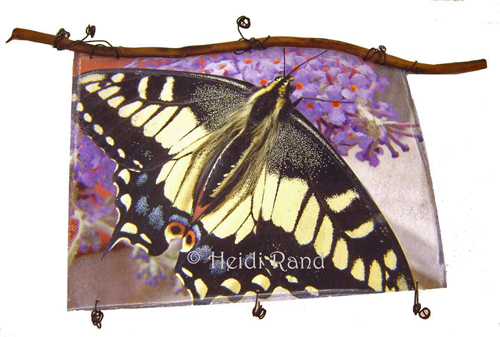
Last week I showed you my first project with the new art material, natural color kraft•tex, and promised to let you know how I finished the envelope purse that I decorated with my orchid image.
I’m a bit nervous about using snaps, since even using a fancy snap-attaching gizmo I’ve had some failures. I was so happy with the piece that I didn’t want to ruin it. After realizing that if my snap-attaching went astray I could cover the flub up with a button, I got out the gizmo. Happily, it worked fine!

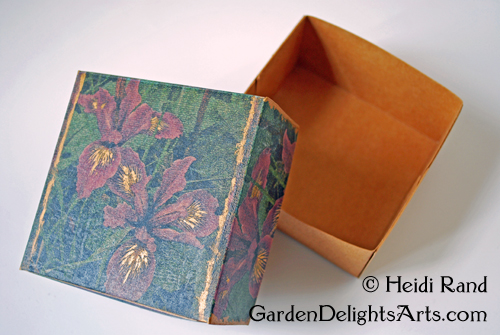
I’m still mulling over what kind of strap or handle to add, so stay tuned for the next step in this continuing saga. For my second kraft•tex project, I wanted to make a box. The sturdiness of kraft•tex makes it ideal box-worthy material. I used an envelope and box-making scoring board, but you can easily make this box without one. For the top and bottom of a nesting box that ends up measuring 4 x 4 x 2 inches, start with two 8-inch squares. With a ruler and a bone folder or the dull side of a butter knife, score the bottom of the box first, making four scores at 2 inches in for each side of the box. The top of the box needs to be a little looser to fit over the bottom, so subtract an eighth of an inch from each of the four scores.
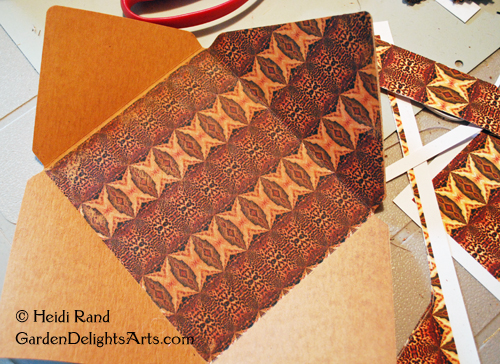
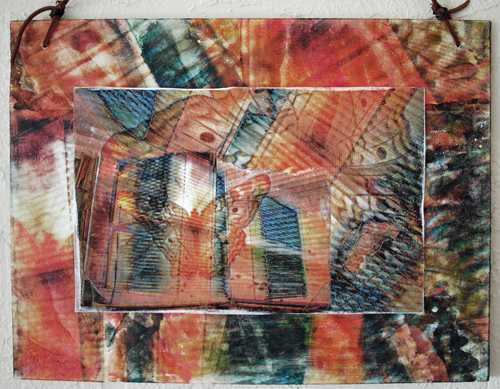
I designed the box using my painterly photo of a Douglas Iris that George grew for me. To decorate the top part of the box, I sized one image at 4×4 inches, and then cropped four slices of the image for the sides at 4×2 inches. I flipped the images horizontally and printed on a sheet of Transfer Artist Paper (TAP). Here you can see the box after I transferred the TAP to the top and four sides.
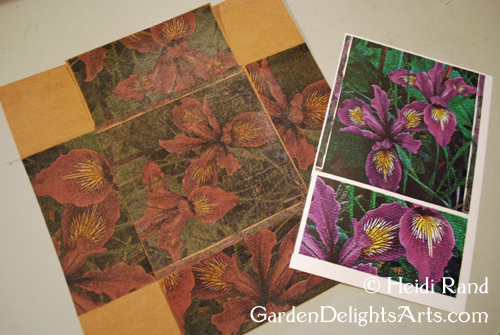
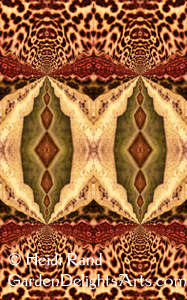
You’ll always get a more vibrant transfer to a white substrate, and I knew that the natural color kraft•tex would darken the transfer. I included another sheet of untransferred TAP printed with the same images for you to see the difference.
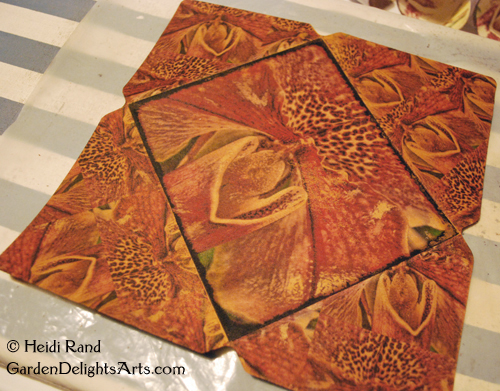
To assemble your box, cut slits on all four sides (in the picture above, the slits are at one side of each of the small rectangles that form each corner, which have no image transfer). Fold the corners to the inside and adhere. I used double-sided tape, but you can use glue, paste, or your favorite adhesive. I chose to leave the bottom the beautiful natural tan color of the kraft•tex.
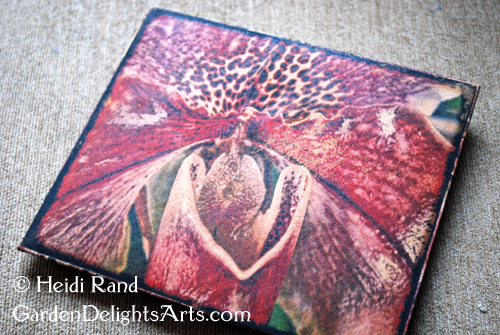
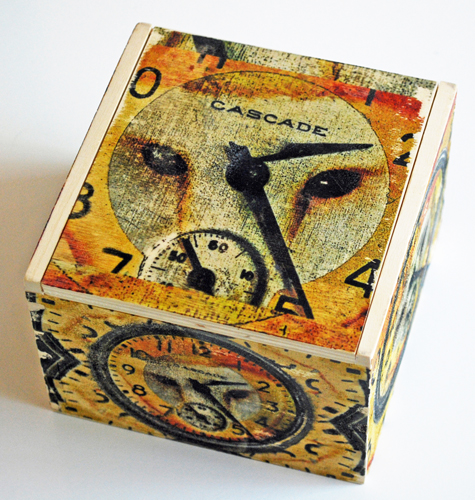
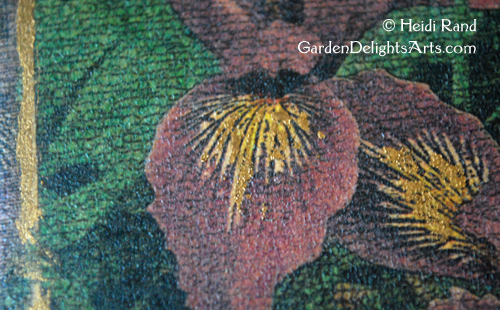
You can paint on top of TAP transfers, so I added touches of gold paint to bring out the wonderful golden yellow color at the center of the iris petals. I also streaked some paint down the sides of the image and at some corners of the box. Here’s a closeup.
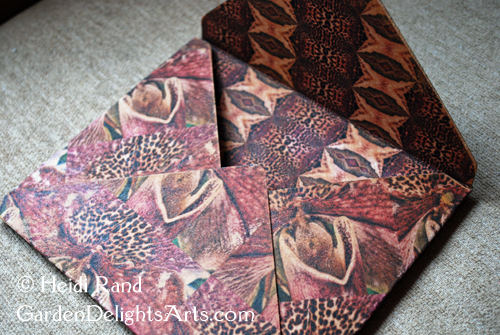
I love making boxes, and always try to make one when I find new art materials. I think kraft•tex is ideal for boxes and other structural projects where its sturdiness makes it easier to work with than paper or fabric which you’d have to stiffen or back with stabilizer.
There’s still time for you to sign up for my free demonstration of TAP, Lutradur (and a bit of kraft•tex) next Saturday March 15th at Flax Art & Design in San Francisco. I’ll have the box and envelope purse there for you to see in person! Click here to read my blog post with all of the details.
 Finally it was time to transfer! TAP works best at the highest iron setting that the surface you’re ironing onto can withstand, so I set it on linen. Taking the front piece first, I cut out closely around the image, placed it face down onto the kraft•tex, covered it with parchment paper to protect the iron, and slowly circled around the entire piece with the iron.